How to choose lighting at any price point — from $100 to $1,000+.
1. Start Here: The 3 Real Rules of Home Lighting
Choosing great home lighting doesn’t require a designer budget. But it does require a designer strategy. These three rules shape every well-lit room. And they instantly elevate your space whether you decorate with light fixtures on a budget or you plan a multi-pendant installation.
Rule 1: Layer Your Light

To make any room feel balanced and comfortable, the light must come from more than one type of source. By building a layered foundation, every space becomes softer, more welcoming and easier to use.
-
Ambient: This is your base layer and provides general illumination through pendants, flush mounts or clusters.
-
Task: This layer delivers focused light exactly where you work, read, cook or get ready.
-
Accent: This lighting adds warmth, depth and intention through picture lights, directional bulbs or decorative swags.
When you combine these layers, even inexpensive light fixtures under $100 feel intentional and designer-level.
Rule 2: Spread Your Light

Lighting that is evenly spread throughout a room instantly looks more intentional and prevents the harsh shadows caused by relying only on a single overhead fixture.
Using multiple smaller fixtures, such as two pendants instead of one, or adding a corner swag or bedside plug-in, helps soften the room and increase dimension.
Rule 3: Scale Your Fixtures Correctly

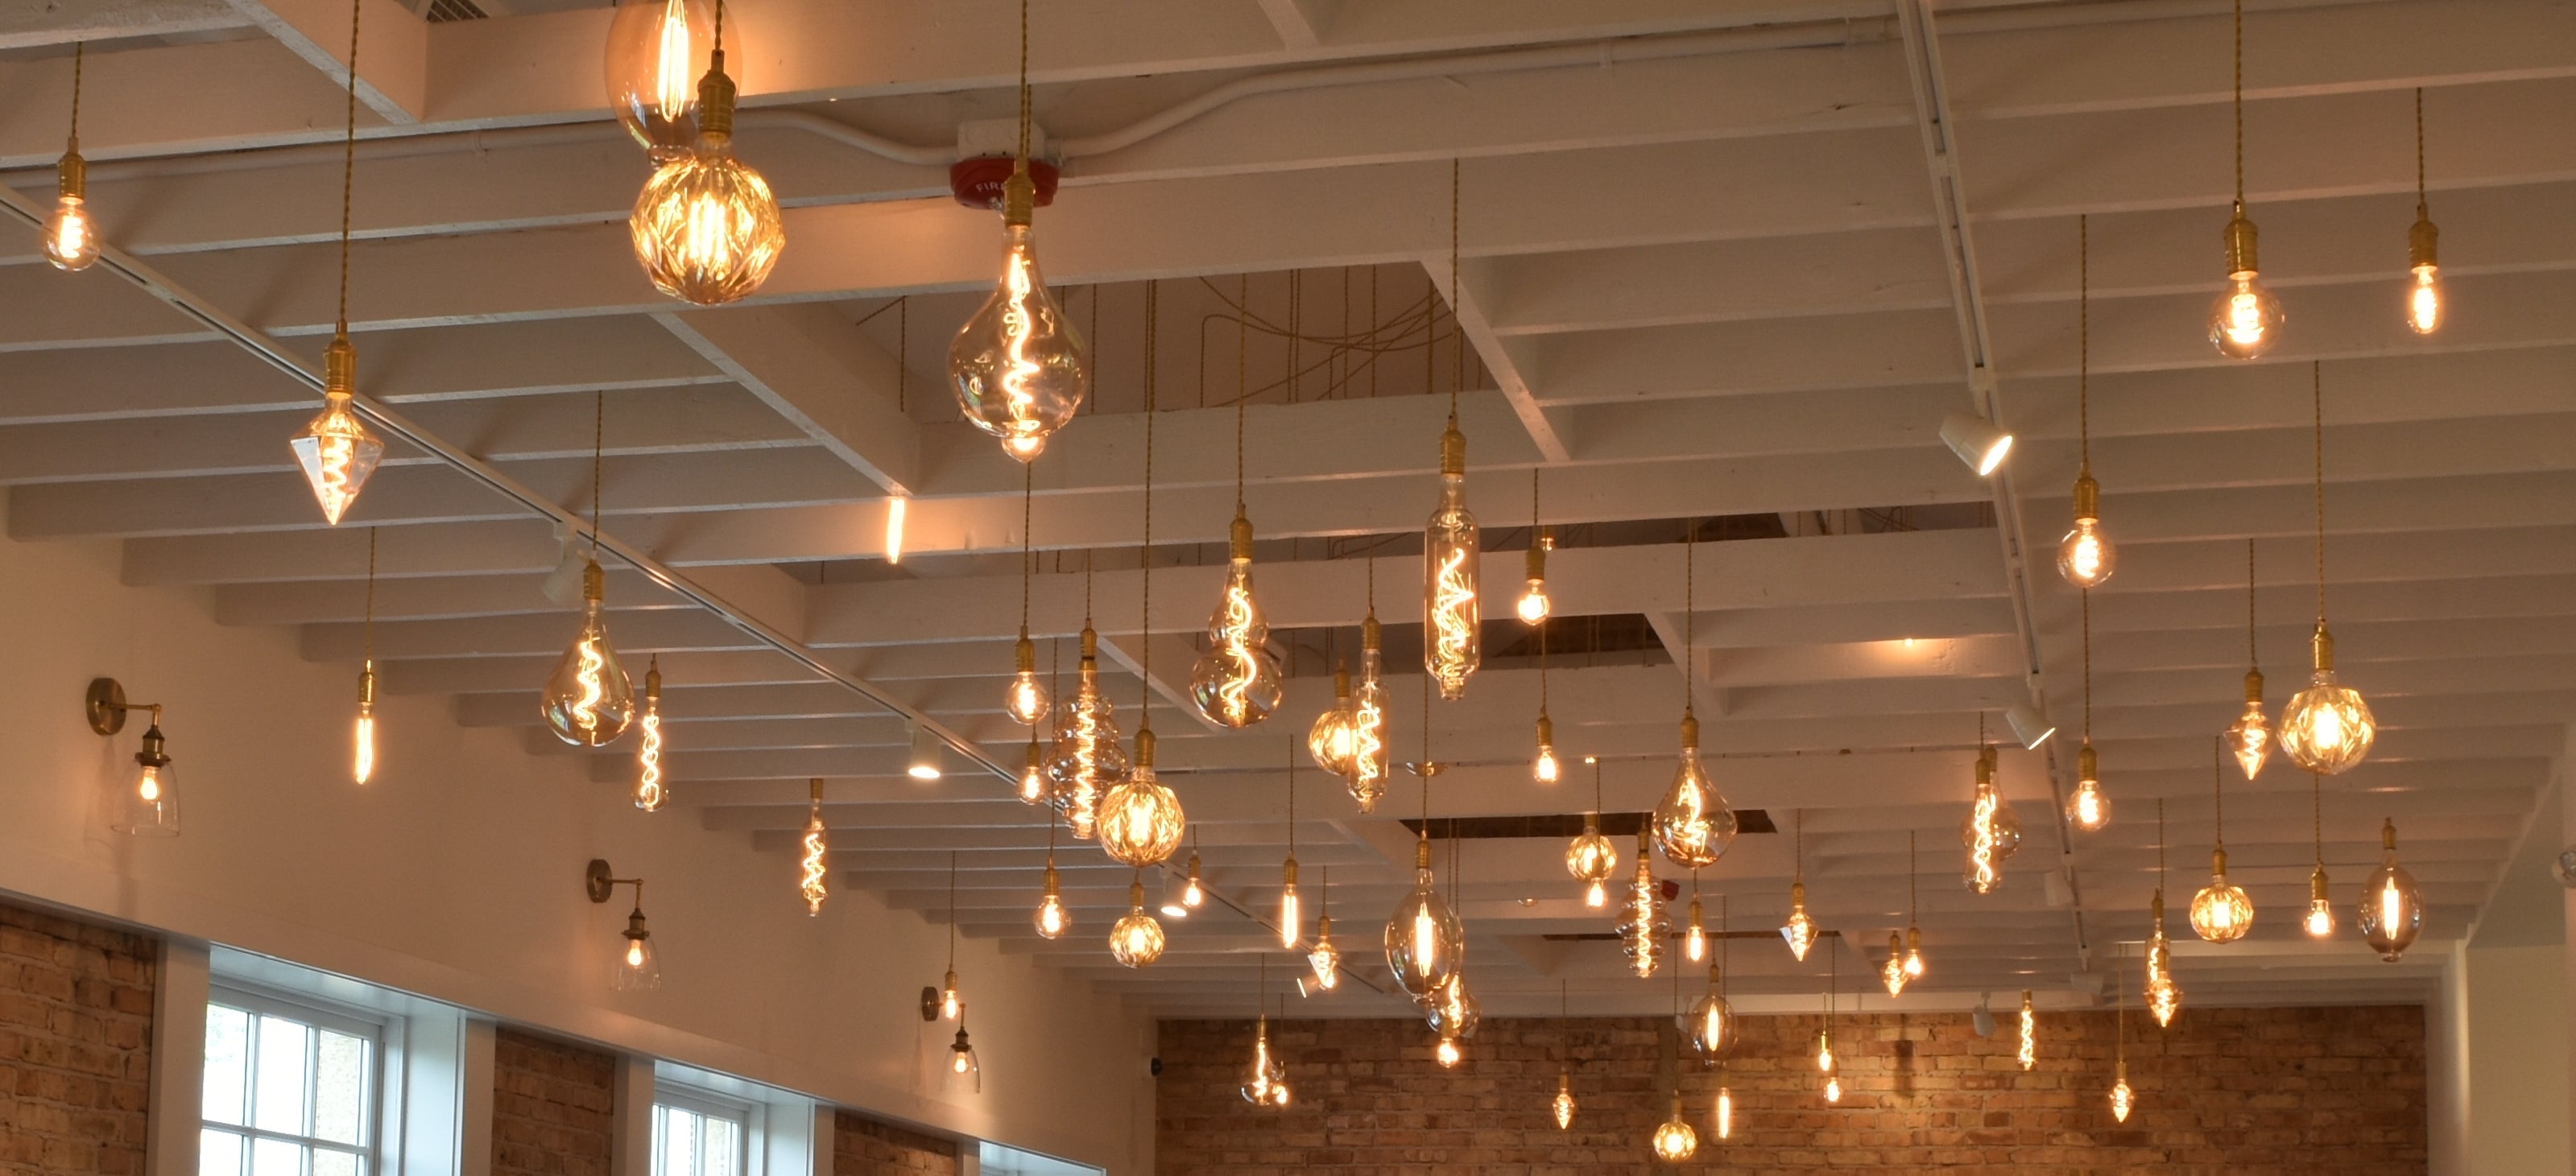
Size matters more than price. Large shades (10″ to 24″), oversized globes and multi-pendant fixtures deliver an elevated look at any budget. If you want maximum impact with minimal cost, increasing shade or globe size is more effective than increasing the price point.
2. What You Can Do With Different Budgets
Below is a realistic breakdown of how far your lighting dollars go, using true price tiers and Hangout Lighting-appropriate options.
Lighting a Room for Under $100

In this price range, the goal is to enhance what you already have with simple, high-impact upgrades that do not require professional installation.
-
Switch to warm, high-CRI LEDs to improve color rendering throughout the room.
-
Add a mix-and-match plug-in pendant from Hangout Lighting’s Design Your Own collection, one of the most affordable and flexible ways to introduce a statement light without hardwiring.
-
Use under-cabinet LED strips to create instant, effective kitchen task lighting.
-
Place small accent lamps to brighten corners, nightstands or shelf displays.
-
Use mirrors and lighter paint to naturally amplify brightness without adding new fixtures.
This is also the level where you can easily add modern accents to your lighting when on a budget, without hiring an electrician, keeping your lighting fixture installation cost close to zero.
Lighting a Room for $100–$300

With a slightly higher budget, you can begin replacing or adding key fixtures that dramatically shift how your space looks and functions.
-
Add 1–2 pendants as plug-in or hardwired options depending on your setup.
-
Upgrade your globe type from basic white to tinted or faux alabaster finishes.
-
Install a dimmer to gain instant control over mood and intensity.
-
Replace builder-grade overhead fixtures with custom or semi-custom pieces for a noticeable improvement.
This budget also makes it easy to choose rather affordable dining room light fixtures without sacrificing style.
Lighting a Room for $300–$600

This range allows for meaningful visual upgrades that feel designer-level while still being relatively affordable.
-
Install a 3–5-light swag fixture, using cord swags for lower budgets or chain swags for a more polished result.
-
Add pendant lighting over islands, bedsides, reading corners or dining tables.
-
Upgrade task lighting in high-use areas such as bathrooms or vanities.
-
Choose larger globes (10″-12″) to create a stronger visual presence.
Lighting a Room for $600–$1,000+

At this level, you can fully redefine a room or update several rooms at once for a cohesive, high-impact lighting plan.
-
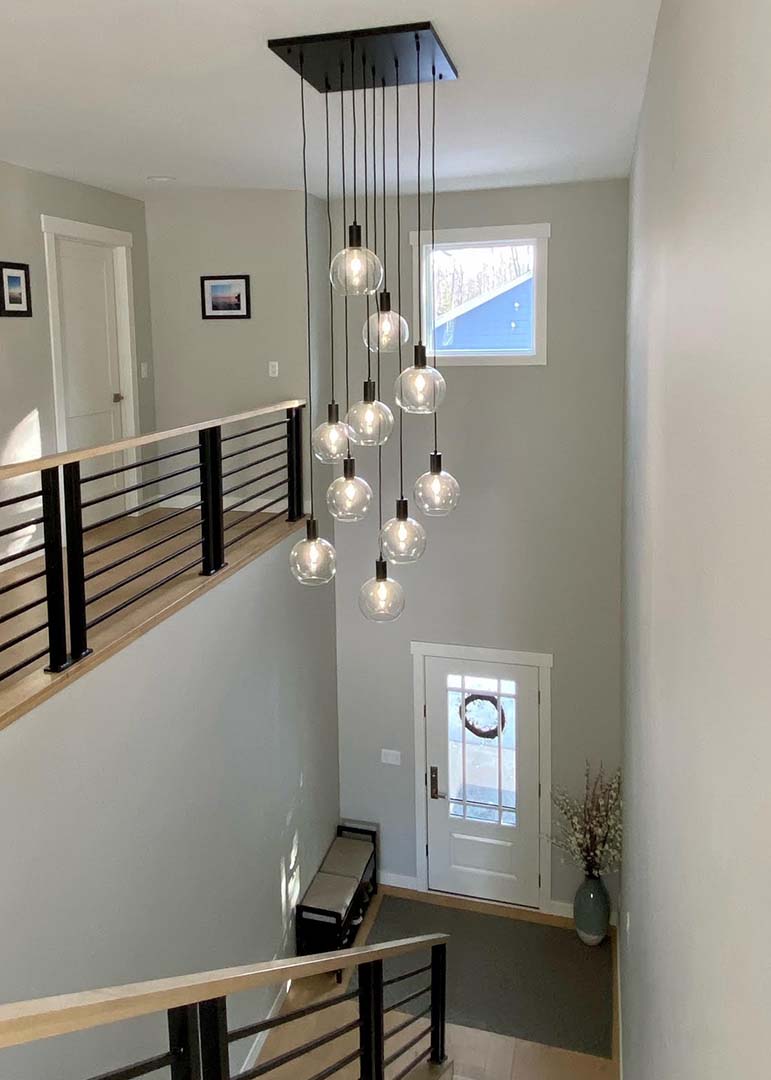
Multi-light clusters that work beautifully for stairwells, dining rooms or entryways.
-
Oversized 10–12–14” globes to add true designer impact.
-
A large statement chandelier, including cluster, multi-pendant or tiered styles.
-
Upgrade several rooms to create continuity in style and color temperature across the home.
3. How to Build a Realistic Lighting Budget
Whether you're improving one room or lighting a whole home, break your plan into simple steps. Start by outlining your needs clearly, then assigning estimated costs so you can invest where it matters most.
-
List each room you want to improve.
-
Identify which fixture types you need from ambient, task or accent categories.
-
Estimate fixture costs based on your chosen tier ($100, $100–$300, $300–$600, etc.).
-
Add bulb cost to ensure your budget reflects actual use.
-
Factor in installation if needed, while remembering that plug-ins reduce your lighting fixture installation cost immediately.
-
Add a 10–15% contingency buffer to cover hardware, canopy swaps or shade upgrades.
A kitchen benefits from a balance of ambient and task lighting, so planning ahead helps keep costs contained. Here is how you could do it:
-
Install 2–3 pendants over the island to provide even overhead illumination.
-
Add under-cabinet LEDs for essential task lighting.
-
Choose one central overhead fixture to fill out the ambient layer.
-
Consider an optional electrician quote or select plug-in options to avoid the cost entirely.
4. Where to Splurge vs. Where to Save
Not all rooms deserve equal budget. Here’s how to prioritize without overspending.
Splurge On
It often makes sense to invest more in areas where the lighting will be seen and used most frequently.
-
Choose high-visibility spaces such as the kitchen island, dining table or entryway.
-
Select oversized globes to make a bold statement. Use multi-pendant fixtures that define and elevate the room’s overall style.
-
Upgrade vanity lighting because it has the biggest impact on daily use.
Save On
Some areas do not require premium fixtures and can still look great at a lower cost.
-
Use plug-in pendants and table lamps in bedrooms.
-
Keep fixtures simple in hallways, laundry rooms and rarely used spaces.
-
Install LED strips under cabinets for affordable task lighting.
-
Use plug-in options to eliminate unnecessary electrician fees.
Smart Hybrid Approach
Pick one statement fixture → fill the rest with budget-friendly layers. This is the most efficient way to achieve budget modern lighting without compromising style.
5. Room-by-Room Lighting Guide
Each room below includes cost-conscious ideas that align with our product range at Hangout Lighting.
Living Room

Because this is often the largest and most multifunctional room, adding balanced layers helps create an inviting atmosphere.
-
Ambient: Use plug-in or chain-swag pendants to replace a single overhead light.
-
Task: Place table lamps or an adjustable floor lamp for reading or relaxing.
-
Accent: Use directional bulbs or a cluster pendant to highlight corners or decor.
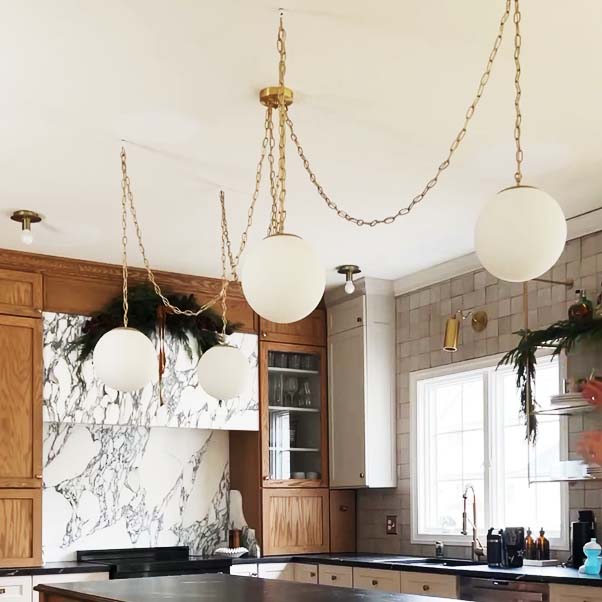
Kitchen

The kitchen benefits from a mix of functional task lighting and well-placed ambient fixtures to keep the space bright and workable.
-
Install 2-3 pendants over the island depending on its width.
-
Use warm LED under-cabinet lighting to add function instantly.
For more detailed information on the ideal kitchen lighting, take a look at our Kitchen Lighting Guide.
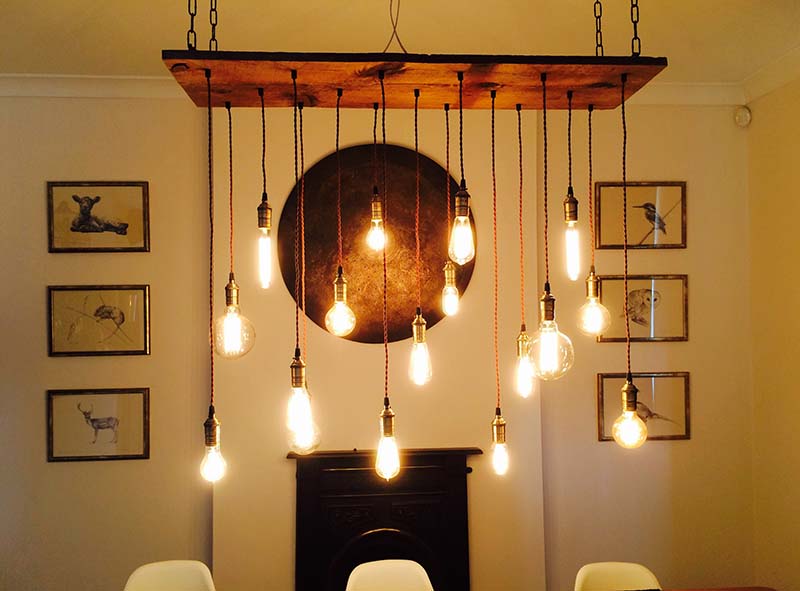
Dining Room

This is the splurge room, where a single upgrade can completely transform the space.
-
Oversized chandelier or cluster pendant to anchor the table visually.
-
Add a dimmer to create warm, inviting meals and improve flexibility.
Even here, you can stay affordable. At Hangout Lighting, we offer gorgeous dining room light fixtures when using cord swags and smaller shades.
Bedroom

Soft, layered light keeps this space calm and functional.
-
Plug-in bedside pendants to replace lamps and free up space.
-
Choose soft warm LEDs (2700–3000K) to create a soothing atmosphere.
-
Add layered lights to avoid harsh overhead glare.
Bathroom

Bright, even lighting is essential for daily tasks in this room.
-
Vanity lighting that illuminates the face evenly.
-
Choose damp-rated fixtures for safety and durability.
-
Avoid warm color temperatures unless you prefer a more modern aesthetic.
6. Designer Tricks to Look Expensive on Any Budget
Use the “Good → Better → Best” Swag Ladder. A clear hierarchy helps you choose the right swag style for your space and budget.
Good (Most Affordable): Regular Cord Swags
-
These swags are renter-friendly and offer the lowest-cost entry point.
-
They use globe bulbs to create soft, diffused light.
-
They are perfect for bedrooms, apartments, reading corners and small spaces.
Better: Chain Swags
-
Chain swags create a more polished, designer look with extra visual weight.
-
They support heavier or larger globes for greater styling flexibility.
-
They are excellent for kitchens, dining rooms and visible living areas.
Best: Swags with Shades (Glass, Metal, Faux Alabaster)
-
These swags instantly look high-end due to their sculptural quality.
-
They reduce glare and create beautifully diffuse light.
-
They are ideal for dining rooms, foyers, stairwells and statement areas.
More High-Impact Tricks
It’s not always easy to find suitable light fixtures and decorate on a budget. Effective home lighting doesn’t require expensive designer fixtures. These design principles help inexpensive fixtures look professionally planned.
-
Use bigger globes (10″–14″) to elevate the look immediately.
-
Choose cluster pendants instead of purchasing one expensive chandelier.
-
Use odd numbers (3, 5, 7) to achieve natural visual balance.
-
Hang lights lower to create intimacy in dining rooms and living rooms.
-
Spread pendant lights across the ceiling using swags to eliminate shadows affordably.
7. Long-Term Savings: Pro Tips That Protect Your Budget
Small choices can significantly reduce long-term lighting costs without sacrificing style.
Switch to LEDs
LED bulbs are one of the simplest ways to save money long-term. They use up to 75% less electricity than incandescent bulbs and can last 5 to 15 times longer, dramatically reducing both your energy bills and the number of replacements you’ll need. Pair LEDs with the right color temperature for each room to get the best performance and ambiance.
Install dimmer switches
A dimmer switch gives you instant control over brightness, helping you tailor your lighting to different moods and activities. It also conserves energy by lowering the wattage output and can extend the life of your bulbs. This small, inexpensive upgrade has a big impact on comfort and cost-efficiency. All hangout fixtures and LED bulbs are dimmable using "forward Phase" dimmers.
Choose plug-in options
Plug-in fixtures are one of the easiest ways to upgrade your lighting without taking on installation costs. Because they simply plug into a standard outlet, you avoid hiring an electrician, paying hourly labor rates or opening your walls or ceiling. Plug-in pendants, sconces and swags still offer a designer look, especially when placed intentionally or paired with larger globes.
Use reflective surfaces and lighter wall colors
Light, reflective materials can amplify the brightness in a room without adding any electrical fixtures at all. Pale wall colors, glossy finishes, mirrors and metallic accents help bounce both natural and artificial light, making the entire space feel larger, clearer and more open. By strategically placing reflective surfaces, you can maximize illumination while keeping your energy use and lighting budget to a minimum.
Illuminate Your Home with Confidence
Lighting is one of the easiest ways to make your home feel warm, intentional and beautifully designed, no matter your budget. With affordable fixtures, efficient LEDs and thoughtful room-by-room decisions, you can make a dramatic impact without stretching your budget.
And when you’re ready to choose pieces that balance style, flexibility and value, at Hangout Lighting, we offer customizable options that help you bring your vision to life. Now that you have the knowledge and confidence, you’re ready to start your own budget-based lighting project and create a home that feels brighter, more intentional and beautifully yours.
Frequently Asked Questions
How do you calculate a lighting budget?
Start with a total amount you're willing to spend. Break it down by room, list the types of fixtures (ambient, task, accent), estimate per-fixture costs, add bulb plus the installation costs, then include a 10 to 15% contingency.
What is the most cost-effective lighting?
LEDs are the most cost-effective when you factor in energy use and longevity. Combine them with dimmers and layered lighting to maximize savings and functionality.
How much does lighting cost for a house?
It depends on size, style and ambition. Generally speaking, a whole-home lighting upgrade can cost anywhere from $300 to several thousand dollars, depending on how many fixtures you replace and whether you choose designer or budget light fixtures.
How many lumens do you need per room?
A general rule is around 20 lumens per square foot for ambient lighting and around 50 lumens per square foot for task lighting.


Share: